
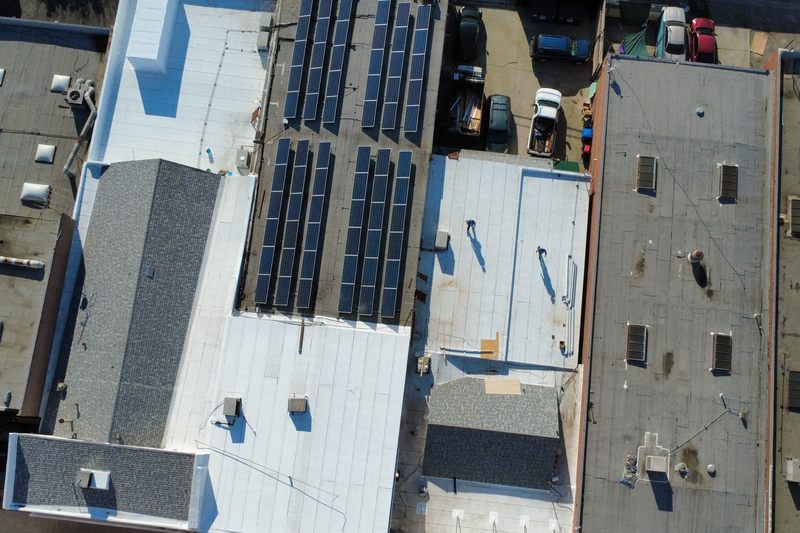
New construction, Culver City, CA
New-Construction Roof Installation in Culver City, CA
Plans settle the roof design on a new build long before anyone orders material. Send us that plan set, and we will go over the roof shape and your framing schedule.
The plans come first, long before any material arrives at the property. They set the slope, the roof shape, the framing layout and the drainage route. Each choice changes how the roof goes together, so send the plan set for a free estimate.
New construction starts with the plans
A new build carries a plan set, a construction schedule and a set of inspection dates. Our roofing work fits around the framing and sheathing, and around the other trades overhead. We read that plan set before we quote anything.
When framing and sheathing slip, the roofing date slips with them. We keep our installation window tied to the schedule your builder is working from. Tell us early when a date moves, and we can hold the material order.
Plans also show everything the finished roof has to carry. Vents, pipes and equipment curbs all land inside the finished roof, so we plan each one from the drawings.
Ask us about the roof while the design can still change. Our estimates are free, so an early question costs you nothing.
A replacement runs in a different order, because the old roof has to come off first. On a new build, we install over a deck that has never carried a roof. That is a cleaner starting point than tearing off and hauling away an old one.
- Send us the roof plan, the elevations and any flashing details.
- Confirm the roof shape and the slope, then mark every planned penetration.
- Match the installation window to the framing schedule as dates firm up.
Deck stage
Deck readiness comes before the finish roof
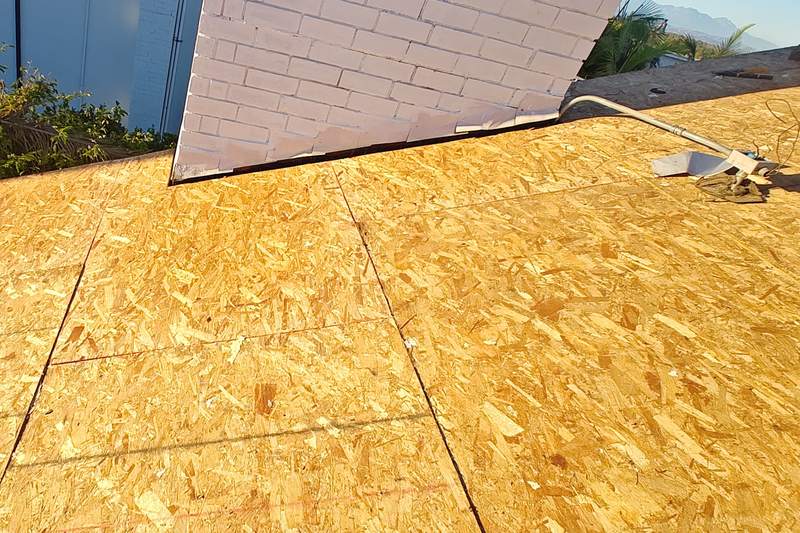
We check the deck before any underlayment goes down. We are looking for flat sheathing, fasteners that hold, square edges and a dry surface. The finish roofing goes on only after the deck passes, because everything above depends on that wood.
A new build follows the weather, so dry decking matters more than a calendar date. When rain hits an open roof, we recheck the deck before we go on. Weather delays are normal on a construction site.
Loose panels, raised fasteners and gaps at the edges all telegraph through a finished roof. We correct each one while the open deck remains easy to reach.
Ask us for a deck walk before the underlayment installation begins. It is your last clear look at the wood before we cover it. You can see the sheathing, the fastener pattern and the edges for yourself.
Underlayment is the waterproof layer beneath the tile or the shingles. Tile and shingles shed most of the rain, and the underlayment handles the remainder. So we install it over a deck that is flat, dry and secure.
- Sheathing that lies flat with the spacing the panel requires
- Fasteners set flush, neither standing high nor driven too deep
- Edges, rakes and eaves squared before the edge metal
- A dry deck surface when the underlayment goes on
- Framing corrections finished before we start installing
Roof shape guides the material discussion
Steep gables, hips with several valleys, dormers and flat sections each suit different systems. A mixed roof often needs two, so the shape narrows the material list before anyone talks cost. Bring the elevations, because whatever you pick has to work on those planes.
Asphalt shingles handle most common roof shapes, and they stay our default when the drawings show a simple slope. If you want the layers under that surface, read how a shingle roof stacks up.
Tile changes the appearance of the roof and the underlayment details beneath it. Clay, concrete and slate tile all sit inside our regular work. Tell us early if you want tile, because the underlayment and fastening differ from shingles.
Metal panels suit long, unbroken slopes. We install standing seam with concealed fasteners, so we plan every seam where the roof changes plane. Send the elevations, and we can lay those seam runs out on the drawing.
Flat and low-slope areas need a different system than the sloped sections. We install torch-down modified bitumen on those low-slope decks. One property can end up with two systems, and the plans show exactly where they meet.
Cost follows the same roof conditions the drawings already show. Roof size, the pitch, the number of stories and the roof shape all move the estimate. We prepare an estimate from the plan set, so send it and ask.
The roof also has to look right against the rest of the house. Wall lines, parapets and a second-story roofline all steer the material choice.
Details that shed water
Flashing and drainage details connect the assembly
Every place where the roof meets something else needs its own detail. Valleys, wall intersections, vent pipes, chimneys and roof edges all count, and water gets in wherever a plan omits one. We settle them on the drawings before the finish roofing arrives.
Most leaks begin at those transitions rather than in the middle of a slope. Flashing is the metal that seals every roof-to-wall, chimney and valley transition. On a new build we can detail each connection before the installation covers it.
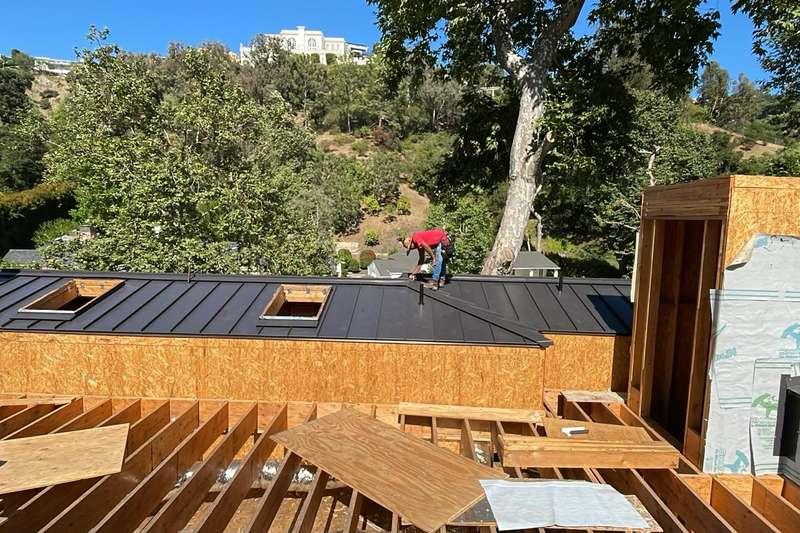
Drainage controls where water goes once it leaves the roof surface. Ask how the plan handles valleys, crickets behind a chimney and the path off the edge. Each of those answers belongs on the drawings before installation.
Penetrations are the other common gap in a plan set. Every vent stack, pipe and flue needs a boot or collar sized to fit it. We would rather pick those parts now than improvise once we are up on the roof.
Edge metal is easy to overlook and hard to fix later. The drip edge establishes the path water takes off the roof. We check it against the fascia and the gutter line on the elevations.
Sequence matters as much as the individual components. Flashing installs with the roofing layers, never after them, so each layer sheds water onto the layer below.
- Valley detail and how the layers overlap there
- Wall and parapet flashing with a counterflashing plan
- Boots and collars at vents and pipe penetrations
- Drip edge and the water path off the roof edge
- Crickets behind a chimney where water collects
Confirm the permit path before work
The City writes the permit rules and posts the requirements and application steps on its Building Safety pages. You will find the current version there, and we help property owners pull permits for applicable work. The City still decides the outcome, the timing and the fee.
Open Culver City Building Safety while the drawings are in progress, then check it once the design is final. Requirements can change between those two points. The building permit application itself shows the paperwork the City wants, so read it before you file.
Your builder and our team walk the permit path with you before work starts. That walkthrough follows the plans and the City's current requirements. Start with the City's list of projects that need a Building Safety permit, then bring us your remaining questions.
Call us to talk through a new-construction roof anywhere in Culver City. The phone is the direct route to us, and our estimates are free. Ask about materials, the deck stage, flashing details or the schedule.
Send the project details in writing when a call does not fit your schedule. Keep it to a few lines, because the form takes text without attachments.
Plans, permits and framing move at different speeds on a construction project. Tell us the target framing date, and we will plan the roofing around it.
Frequently asked questions
What should be decided before a new roof is installed?
Settle the slope, the roof shape, the framing layout and the drainage route on the drawings. Mark every planned penetration, then match the installation window to the framing schedule. Send us the plan set and we will price it from there.
How does roof shape affect the material choice?
Shape narrows the list before cost enters the conversation. Asphalt shingles handle simple slopes, metal panels suit long unbroken runs, and tile changes the underlayment details below. Flat and low-slope sections take torch-down modified bitumen, so one property can end up with two systems.
What roof details need to be settled before installation?
Valleys, wall and parapet flashing, vent and pipe boots, drip edge and chimney crickets all need their own detail. Each one belongs on the drawings before the finish roofing arrives. Flashing installs with the roofing layers, never after them.
Local roofing contact
Culver City Roofing Contractors
Culver City Roofing Contractors
Culver City, CA
(424) 672-3864
Open daily from 8 AM to 8 PM.